
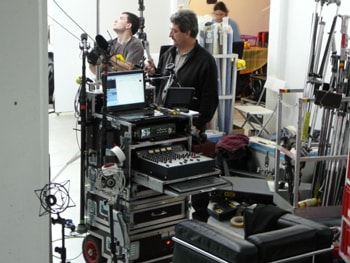
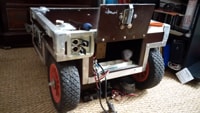
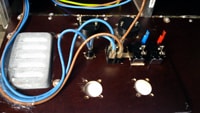
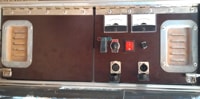
Sound cart

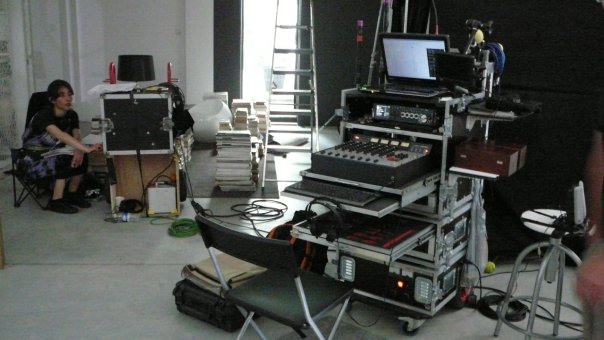
=> Keyboard with USB switch to computer or recorder
=> BNC jack for HD or SD video monitoring (here Vity monitor being renewed) powered by the cart,
=> External fast connection on cart, to 2 poles (XLR3) and stereo input XLR5 directly on mixer,
=> 3 Cases HFs deported wired directly on mixer,
=> Electrical distribution without interruption between accumulator14,4 Volts and power supply 85-220V -> 15VDC, to recorder, console, monitor,
My multivoltage distribution system developed myself and copyrighted : CAMPS.
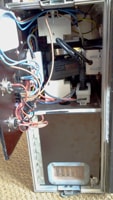
2017 Renovation of the supply part from 2005 of my sound cart.
Power supply stabilized & regulated 100-220VAC to 15 V DC 12 Amps with safety battery and charger. Automatic battery switching system between battery and manual battery charger and a discreet 30dB and efficient 80 L / min fan
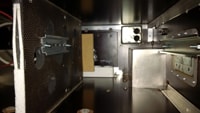
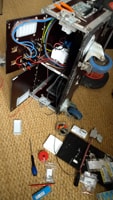
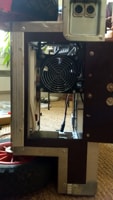
Disassembly
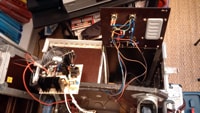
Disassembly from the front panel
 =>
=>
 =>
=>
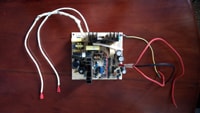
Stabilized & Regulated 12 Volt Power Supply
 =>
=>
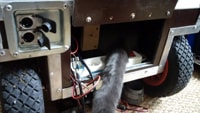
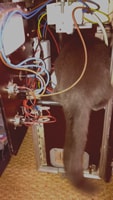
Disassembly of the rear panel with a work feline inspector ;)
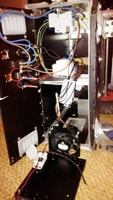
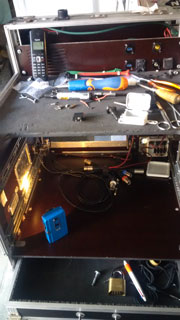
Assembly new version
Inside empty with detail of the DIN rails on the right 100-220VAC, circuit breaker, distribution to power supply and charger

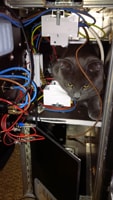
Beginning of assembly with feline monitoring
220V Wiring start
Detail of wiring 220V front panel
 =>
=>
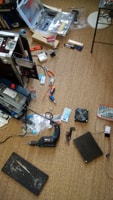
In full drilling, wiring, assembly, screwing, welding, ...
 =>
=>
 =>
=>
It is going well ! Addition of fan with a friendly visit;) Passes everywhere and without damage!
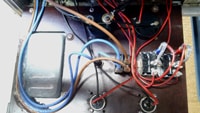
Interior detail of the complete panel bet 100-220 VAC and 15VDC
It is ready !!! Power, Battery and battery chargers are removables.
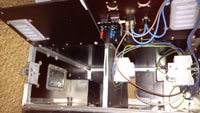
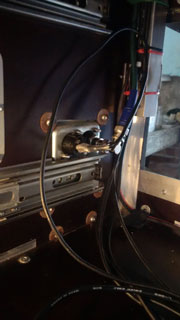
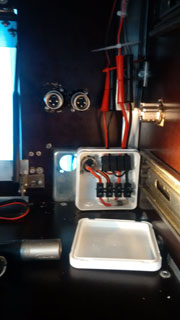
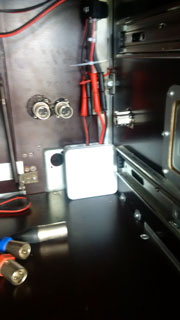
Upgrading of the interior cabling of the upper stage of my sound cart:
Revision of XLR3 (2) booms, Change changes side of BNC arrival with a new Ethernet 1000Mbps
=> =>
=>
 =>
=>
Electrical distribution detail and cable run
 =>
=>
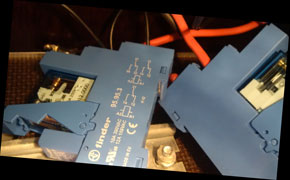
Checking the energy block, putting in parallel of the LEDs (blue and red) and isolating each control circuit with a single diode (N4001). These diodes were in my first version in the circuit. Replacement of these two diodes by a freewheeling diode in the circuit of the fan, and a Zener diode for the simple control circuit to avoid any leakage current.
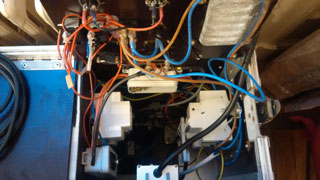
Checking electromechanical power blocks.
 =>
=> 
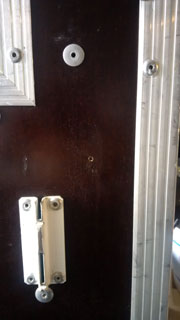
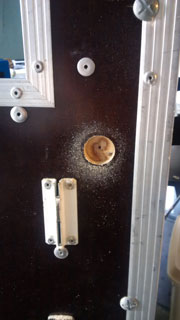
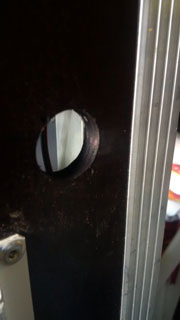
Step of drilling of the wall of my wheel for passage of a Neutrix socket :
We start by determining the place where we will put the socket, and well verify that nothing does not hinder the passage both outside and inside too ! The center of the base is drawn with a pencil of carpenter's wood. We will be able to drill with a 3mm wood spindle that will serve us to make a drill guide for the 25mm wood drill, we will also use the 3mm drill bit to drill the screw passages for the bases.
In order not to change my sockets every 2 weeks, I bought Neutrix sockets.
 =>
=>  =>
=> =>
=>
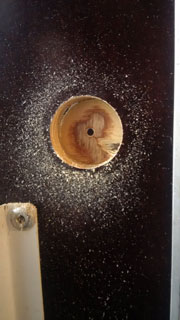
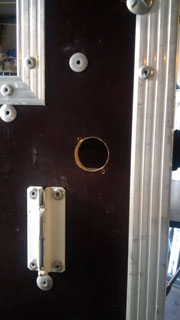
The opening on the inside is a delicate moment where you do not have to force the material to break it.
Once drilled to avoid contamination of the wood I pass it with black marker (better finition).
 =>
=> =>
=>
Equipement listing in english (PDF format)